Choose, crop, and adjust a picture
Keep the part you want, turn the image, and restore the original if needed.
Steps
- On Create, choose From photo and then Select image. Choose a PNG, JPG, WebP, or GIF from your device.
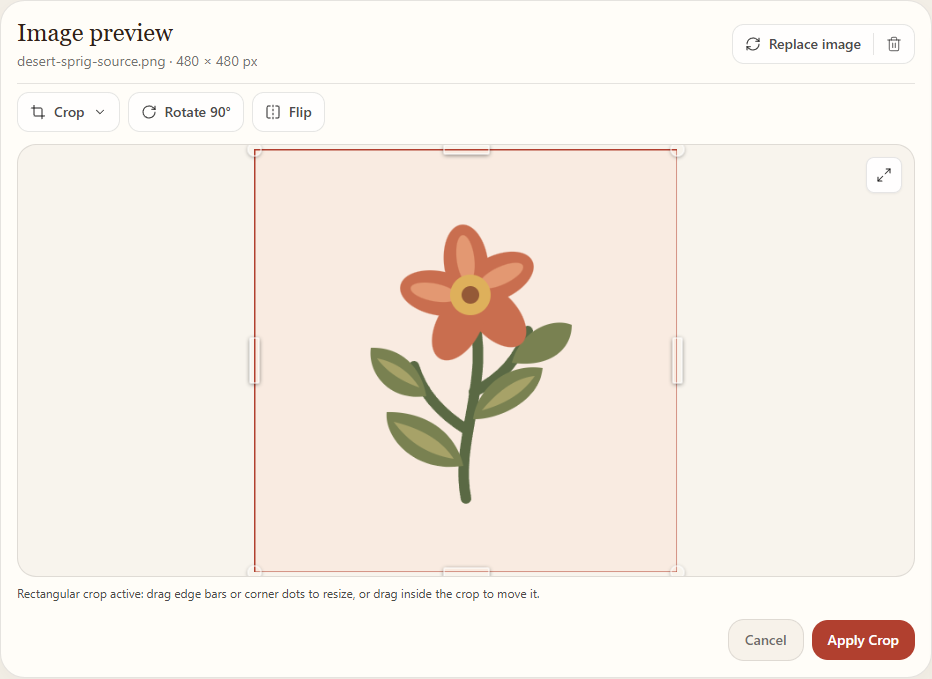
- Choose Crop above the image, then Rectangular crop or Circular crop.
- Drag a corner dot or edge bar to resize the selection. Drag inside it to move it. The selected area is the part that will be kept.
- Choose Apply Crop to keep the selection, or Cancel to leave the picture as it was.
Rectangle or circle?
A rectangular crop keeps the area inside a rectangle. A circular crop keeps the image inside a round or oval selection; the area outside it is transparent and becomes blank chart cells. Choose the shape that suits your design.
Other image controls
Rotate 90° turns the image clockwise. Flip makes a left-to-right mirror image. Replace image selects a different file; the trash button removes the current picture.
After changing the picture, Reset restores the original upload, including its original crop and orientation. It does not change the file stored on your device. Changing the picture clears the generated preview; use the Generate button shown to create a new one.
See more clearly
Use Expand image for a larger view. In the expanded view you can zoom and drag the image; close it to return to Create. Zoom changes the view, not the number of stitches.